DISASSEMBLY PROCEDURE 1. REMOVE MILLIMETER WAVE RADAR WIRE (w/ Toyota Safety Sense P) Click here 2. REMOVE MILLIMETER WAVE RADAR SENSOR ASSEMBLY (w/ Toyota Safety Sense P) Click here 3. REMOVE RADIATOR GRILLE GARNISH (for Type A) (a) When Replacing the Radiator Grille Garnish: (1) Apply protective tape around the spring nut. 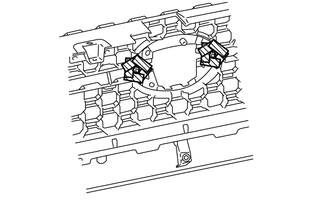
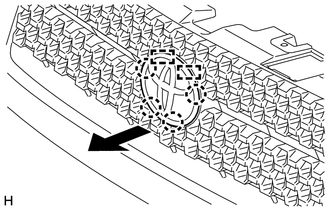
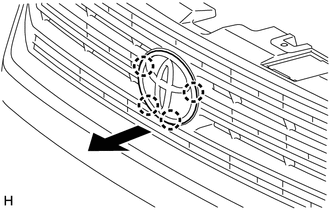
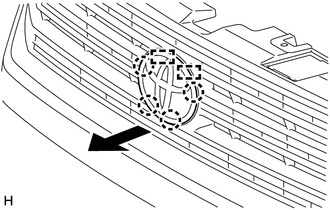
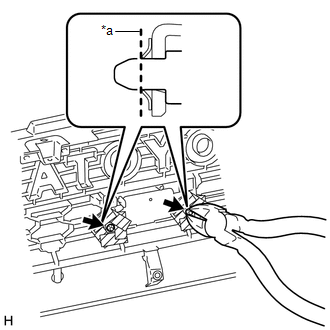
(3) Push the radiator grille garnish to remove the 2 spring nuts as shown in the illustration. CAUTION: Make sure to cover the spring nuts with a piece of cloth or equivalent to prevent them from flying off during removal. 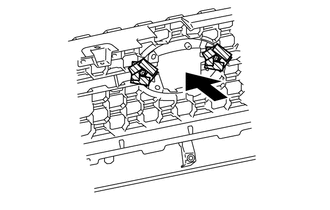
(b) When Replacing the Radiator Grille Sub-Assembly: HINT:
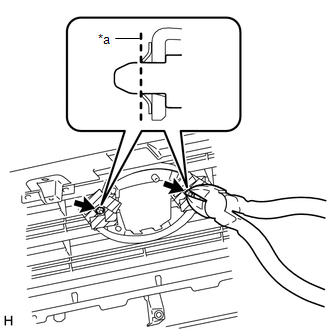
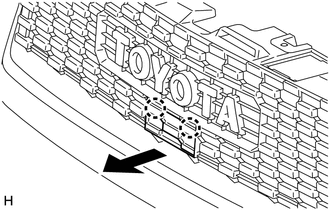
(1) Using a center punch, make a depression at the positions shown in the illustration. 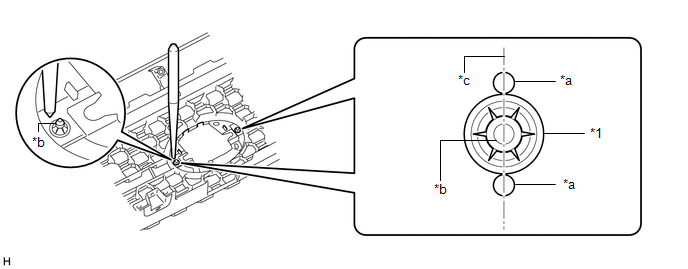
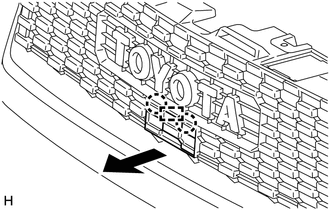
(2) Using a plier nipper (side cutters), rotate the 2 spring nuts to align the cutouts of each spring nut as shown in the illustration. 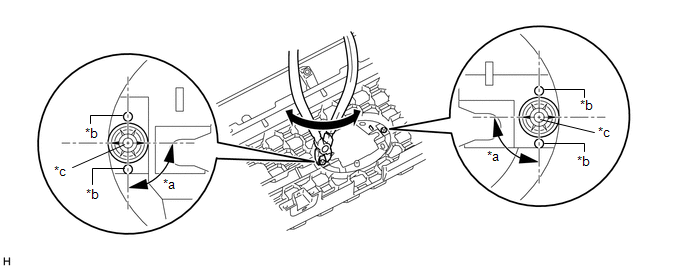
(3) Using a piler nipper (side cutters), deform each spring nut as shown in the illustration and then remove the 2 spring nuts. 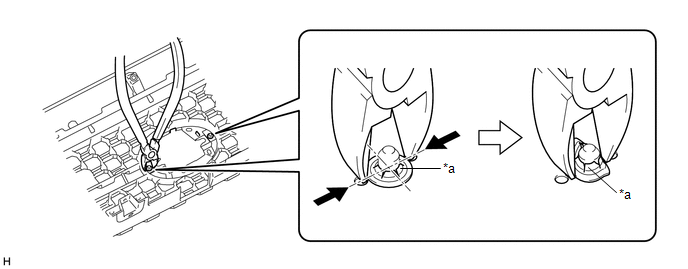
4. REMOVE RADIATOR GRILLE GARNISH (for Type B) (a) When Replacing the Radiator Grille Garnish: (1) Apply protective tape around the spring nut. 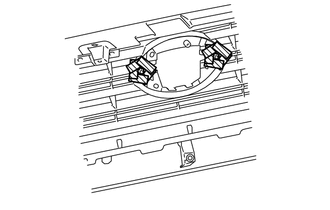
(3) Push the radiator grille garnish to remove the 2 spring nuts as shown in the illustration. CAUTION: Make sure to cover the spring nuts with a piece of cloth or equivalent to prevent them from flying off during removal. 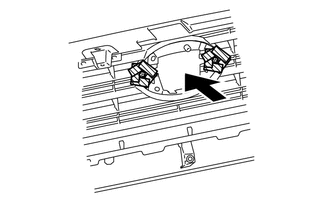
(b) When Replacing the Radiator Grille Sub-Assembly: HINT:
(1) Using a center punch, make a depression at the positions shown in the illustration. 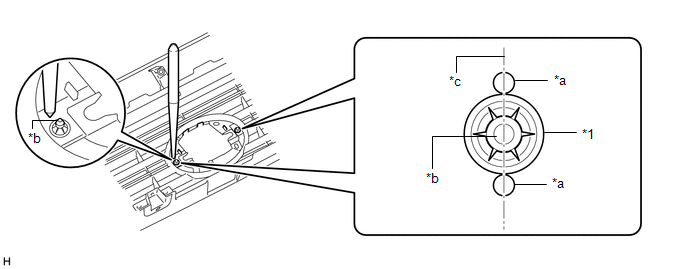
(2) Using a plier nipper (side cutters), rotate the 2 spring nuts to align the cutouts of each spring nut as shown in the illustration. 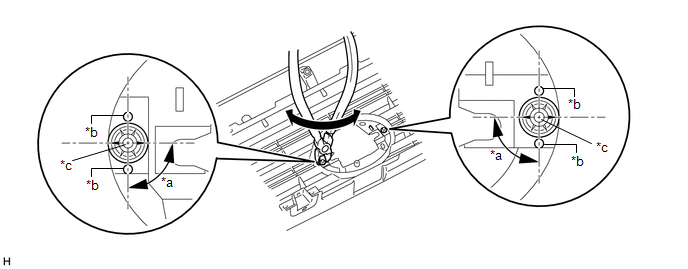
(3) Using a piler nipper (side cutters), deform each spring nut as shown in the illustration and then remove the 2 spring nuts. 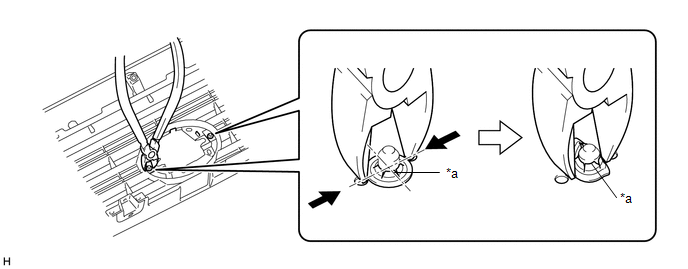
5. REMOVE RADIATOR GRILLE GARNISH (for Type C) (a) When Replacing the Radiator Grille Garnish: (1) Apply protective tape around the spring nut. 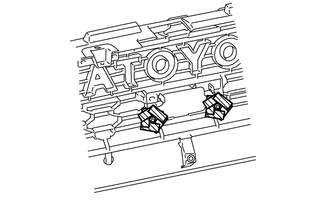
(3) Push the radiator grille garnish to remove the 2 spring nuts as shown in the illustration. CAUTION: Make sure to cover the spring nuts with a piece of cloth or equivalent to prevent them from flying off during removal. 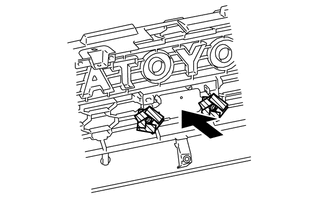
(b) When Replacing the Radiator Grille Sub-Assembly: HINT:
(1) Using a center punch, make a depression at the positions shown in the illustration. 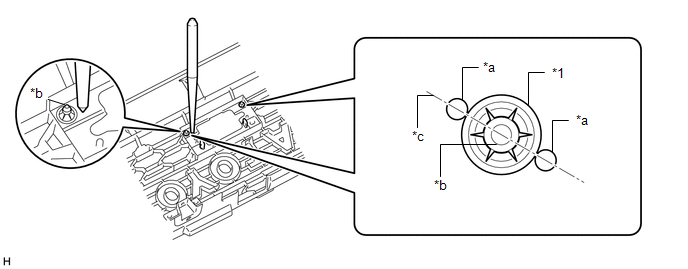
(2) Using a plier nipper (side cutters), rotate the 2 spring nuts to align the cutouts of each spring nut as shown in the illustration. 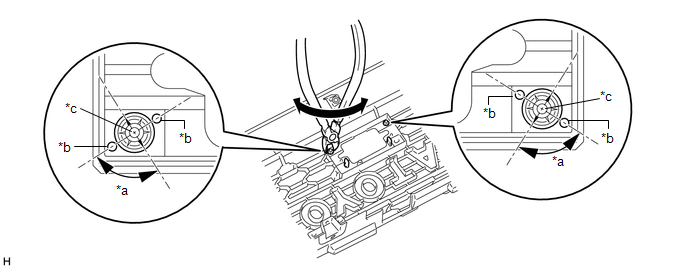
(3) Using a piler nipper (side cutters), deform each spring nut as shown in the illustration and then remove the 2 spring nuts. 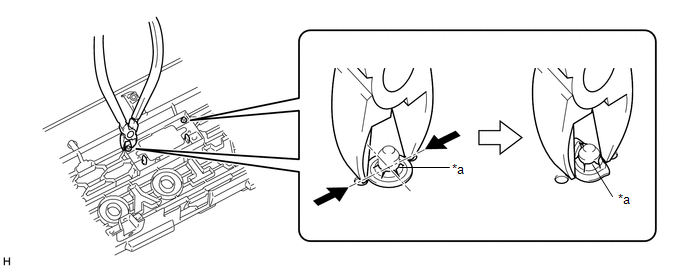
|
Toyota Tundra Service Manual > Intuitive Parking Assist System: Indicator Circuit
DESCRIPTION The sonar ON/OFF indicator light and warning indicator lights are installed in the combination meter assembly. WIRING DIAGRAM PROCEDURE 1. CHECK HARNESS AND CONNECTOR (CLEARANCE WARNING ECU ASSEMBLY - COMBINATION METER ASSEMBLY) (a) Disconnect the J35 clearance warning ECU assembly conne ...