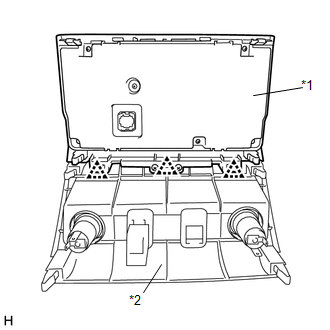
REMOVAL PROCEDURE 1. REMOVE SHIFT LEVER KNOB SUB-ASSEMBLY (for Floor Shift Type)
2. REMOVE UPPER REAR CONSOLE PANEL SUB-ASSEMBLY (for Floor Shift Type)
3. REMOVE UPPER CONSOLE PANEL SUB-ASSEMBLY (for Floor Shift Type)
4. REMOVE REAR CONSOLE END PANEL SUB-ASSEMBLY (for Floor Shift Type)
5. REMOVE CONSOLE BOX CARPET (for Floor Shift Type)
6. REMOVE REAR CONSOLE BOX ASSEMBLY (for Floor Shift Type)
7. REMOVE FRONT CONSOLE BOX (for Floor Shift Type)
8. REMOVE CENTER LOWER INSTRUMENT COVER (for Column Shift Type)
9. REMOVE AIR CONDITIONING CONTROL ASSEMBLY (HAZARD WARNING SWITCH) (a) Put protective tape around the air conditioning control assembly (hazard warning switch). (b) Using moulding remover B, detach the 8 clips, 2 claws and guide. (c) Disconnect each connector and remove the air conditioning control assembly (hazard warning switch) with the center lower instrument panel finish panel. 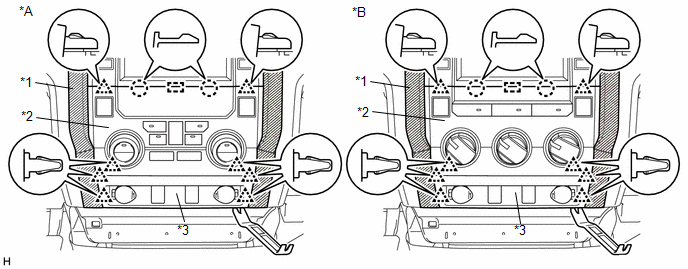 Text in Illustration Text in Illustration
|
Toyota Tundra Service Manual > Power Window Control System(w/ Jam Protection Function): Problem Symptoms Table
PROBLEM SYMPTOMS TABLE Use the table below to help determine the cause of the problem symptom. The potential causes of the symptoms are listed in order of probability in the "Suspected Area" column of the table. Check each symptom by checking the suspected areas in the order they are liste ...