REMOVAL CAUTION / NOTICE / HINT HINT:
PROCEDURE 1. REMOVE FRONT LOWER DOOR FRAME BRACKET GARNISH LH 2. REMOVE FRONT DOOR INSIDE HANDLE BEZEL PLUG LH 3. REMOVE FRONT UPPER ARMREST BASE PANEL LH 4. REMOVE FRONT DOOR ARMREST COVER LH 5. REMOVE FRONT DOOR TRIM BOARD SUB-ASSEMBLY LH
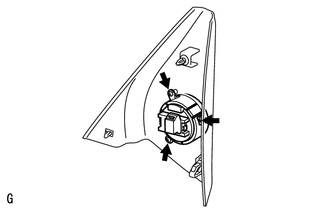
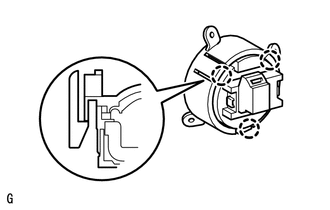
6. REMOVE FRONT NO. 1 SPEAKER ASSEMBLY (a) Remove the 4 screws. 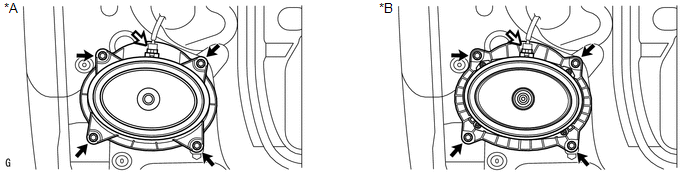 Text in Illustration Text in Illustration
NOTICE: Do not touch the cone part of the speaker. (b) Disconnect the connector and remove the front No. 1 speaker assembly. 7. REMOVE FRONT NO. 3 SPEAKER ASSEMBLY (for 12 Speakers)
|
Toyota Tundra Service Manual > Key Reminder Warning System: How To Proceed With Troubleshooting
CAUTION / NOTICE / HINT HINT: Use the following procedures to troubleshoot the key reminder warning system. *: Use the Techstream. PROCEDURE 1. VEHICLE BROUGHT TO WORKSHOP NEXT 2. INSPECT BATTERY VOLTAGE Standard Voltage: 11 to 14 V If the voltage is below 11 V, recharge or replace the battery befor ...