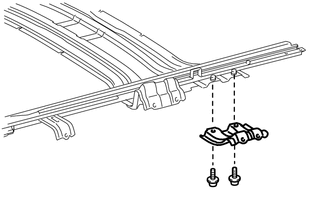
REASSEMBLY PROCEDURE 1. INSTALL REAR SLIDING ROOF HOUSING MOUNTING BRACKET LH
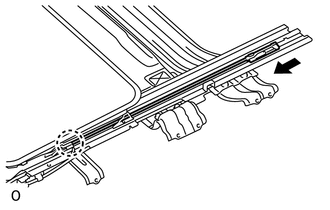
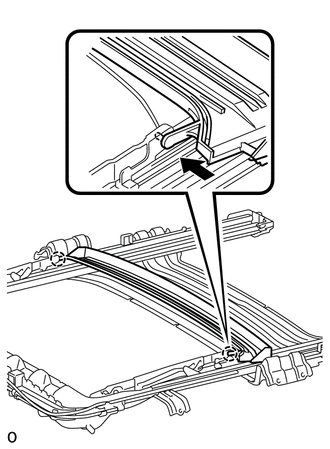
2. INSTALL REAR SLIDING ROOF HOUSING MOUNTING BRACKET RH HINT: Use the same procedures described for the LH side. 3. INSTALL SLIDING ROOF DRIVE CABLE SUB-ASSEMBLY (a) Hold down the window deflector. NOTICE: Make sure that the spring indicated by the arrow in the illustration is securely installed. 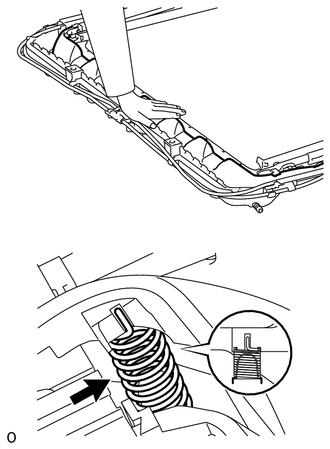
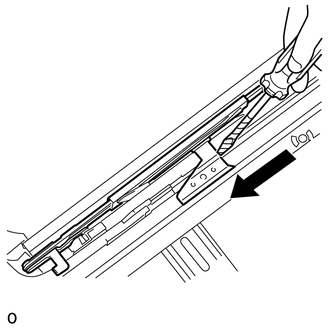
4. ADJUST SLIDING ROOF DRIVE CABLE SUB-ASSEMBLY 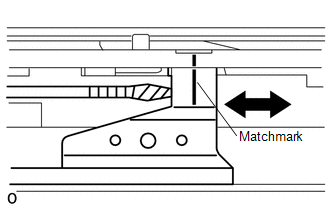
(a) Using a screwdriver, align the matchmarks by sliding the drive cable in the directions indicated by the arrow in the illustration. HINT: Tape the screwdriver tip before use. 5. INSTALL SUNSHADE TRIM SUB-ASSEMBLY
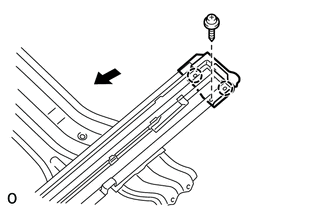
(b) Attach the 4 claws to install the sliding roof piece LH and RH. (c) Install the 2 screws. 6. INSTALL SLIDING ROOF DRIVE GEAR SUB-ASSEMBLY 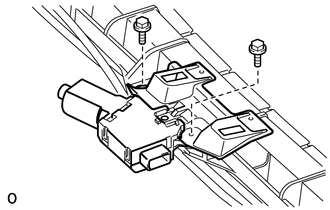
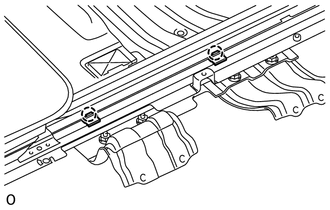
(a) Install the drive gear and room light bracket with the 2 bolts. Torque: 5.4 N·m {5.5 kgf·cm, 48 in·lbf} |
Toyota Tundra Service Manual > Rear Seat Assembly(for Crewmax Lh Side): Removal
REMOVAL PROCEDURE 1. REMOVE REAR SEAT ASSEMBLY RH (a) Pull the No. 1 reclining adjuster release handle RH and fold up the seat cushion. (b) Remove the 4 bolts and rear seat assembly RH. NOTICE: Be careful not to damage the vehicle body. 2. REMOVE REAR SEAT INNER BELT ASSEMBLY (a) Remove the bolt. (b ...