REMOVAL PROCEDURE 1. REMOVE STEERING WHEEL ASSEMBLY (See page 2. REMOVE FRONT DOOR SCUFF PLATE LH 3. REMOVE COWL SIDE TRIM BOARD LH 4. REMOVE LOWER INSTRUMENT PANEL FINISH PANEL SUB-ASSEMBLY LH 5. REMOVE LOWER NO. 1 INSTRUMENT PANEL AIRBAG ASSEMBLY 6. REMOVE CENTER LOWER INSTRUMENT COVER 7. REMOVE LOWER STEERING COLUMN COVER 8. REMOVE UPPER STEERING COLUMN COVER 9. REMOVE FRONT SEAT ASSEMBLY LH (a) for Manual Seat Type: Remove the front seat LH (See page
(b) for Power Seat Type: Remove the front seat LH (See page
(c) for Center Seat: Remove the front seat LH (See page
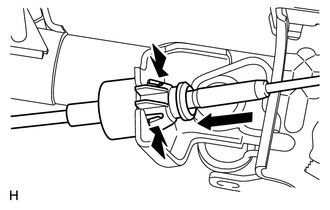
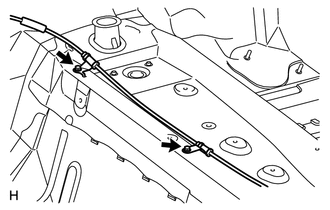
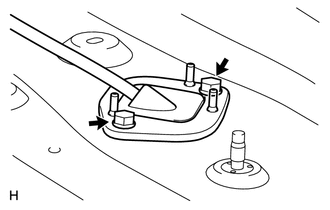
10. REMOVE COLUMN SHIFT TRANSMISSION CONTROL CABLE ASSEMBLY 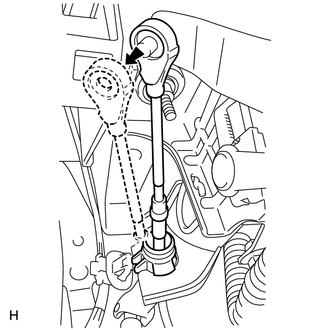 (a) Move the shift lever to N. (b) Fold back the floor carpet. (c) Disconnect the column shift transmission control cable end from the column shift.
|
Toyota Tundra Service Manual > Wireless Door Lock Control System: Terminals Of Ecu
TERMINALS OF ECU 1. CHECK MAIN BODY ECU (MULTIPLEX NETWORK BODY ECU), DRIVER SIDE JUNCTION BLOCK ASSEMBLY (a) Remove the main body ECU (multiplex network body ECU) from the driver side junction block assembly. Click here (b) Connect the driver side junction block assembly connectors. (c) Measure the ...

 )
)