Components COMPONENTS ILLUSTRATION 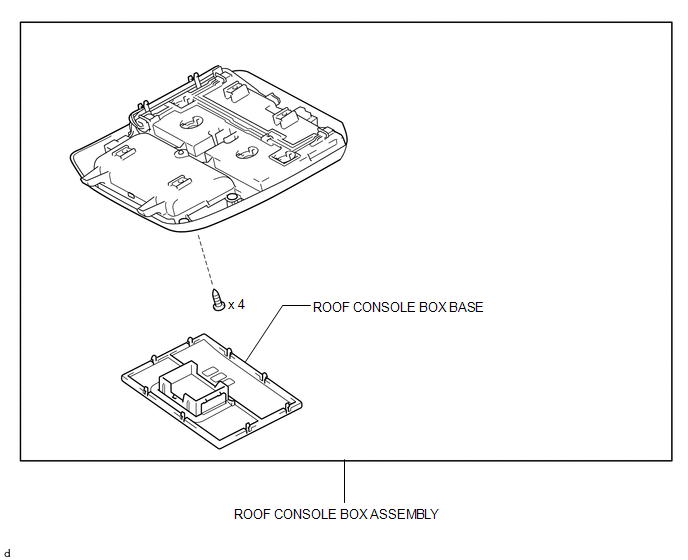
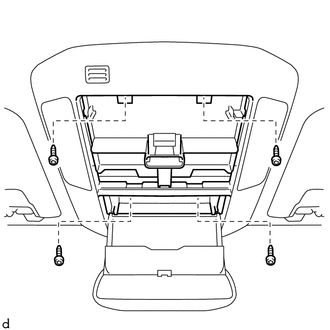
Installation INSTALLATION PROCEDURE 1. INSTALL ROOF CONSOLE BOX ASSEMBLY (a) Connect the connector. (b) Using a T20 "TORX" driver, install the roof console box assembly with the 4 "TORX" screws.
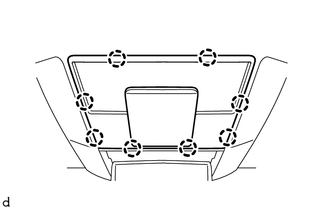
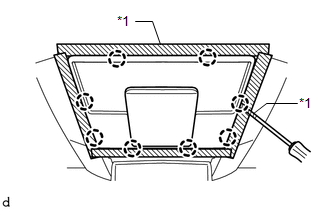
Removal REMOVAL PROCEDURE 1. REMOVE ROOF CONSOLE BOX ASSEMBLY
(b) Using a screwdriver, detach the 8 claws and remove the roof console box base. HINT: Tape the screwdriver tip before use.
(d) Disconnect the connector. |
Toyota Tundra Service Manual > Sfi System: Mass Air Flow Circuit Range / Performance Problem (P0101)
DESCRIPTION Refer to DTC P0102 (See page ). DTC No. DTC Detection Condition Trouble Area P0101 Conditions (a), (b), (c), (d) and (e) continue for more than 10 seconds (2 trip detection logic): (a) Engine running (b) Engine coolant temperature 70°C (158°F) or higher (c) Throttle Position (TP) senso ...