REMOVAL CAUTION / NOTICE / HINT HINT:
PROCEDURE 1. REMOVE FRONT LOWER DOOR FRAME BRACKET GARNISH LH 2. REMOVE FRONT DOOR INSIDE HANDLE BEZEL PLUG LH 3. REMOVE FRONT UPPER ARMREST BASE PANEL LH 4. REMOVE FRONT DOOR ARMREST COVER LH 5. REMOVE FRONT DOOR TRIM BOARD SUB-ASSEMBLY LH
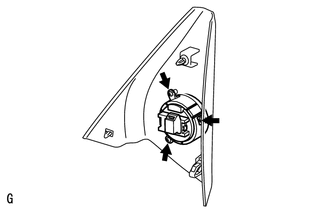
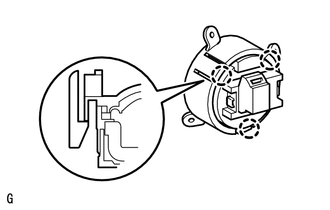
6. REMOVE FRONT NO. 1 SPEAKER ASSEMBLY (a) Remove the 4 screws. 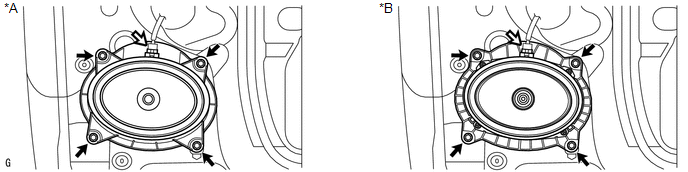 Text in Illustration Text in Illustration
NOTICE: Do not touch the cone part of the speaker. (b) Disconnect the connector and remove the front No. 1 speaker assembly. 7. REMOVE FRONT NO. 3 SPEAKER ASSEMBLY (for 12 Speakers)
|
Toyota Tundra Service Manual > Ignition Switch: Removal
REMOVAL PROCEDURE 1. PRECAUTION NOTICE: After turning the ignition switch off, waiting time may be required before disconnecting the cable from the battery terminal. Therefore, make sure to read the disconnecting the cable from the battery terminal notice before proceeding with work (See page ). 2. ...