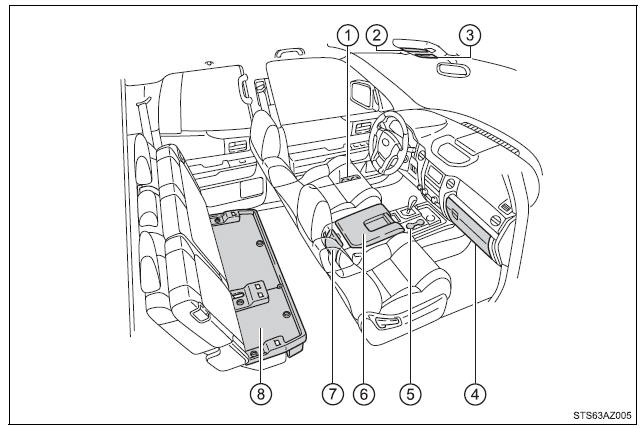
List of storage features Front separated type seats
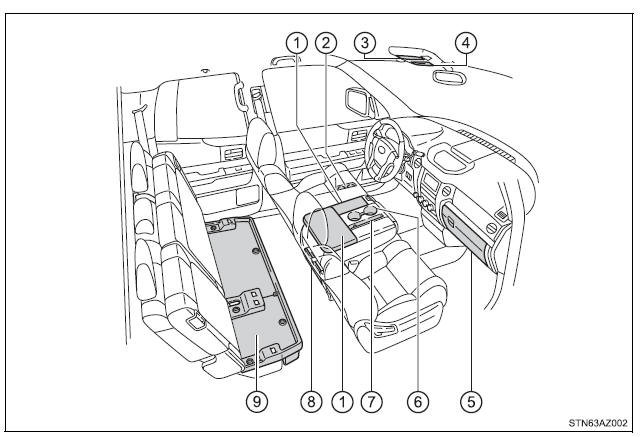
Front bench type seat
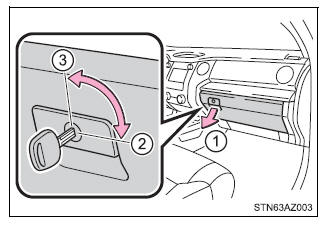
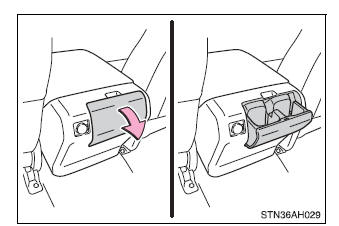
Glove box
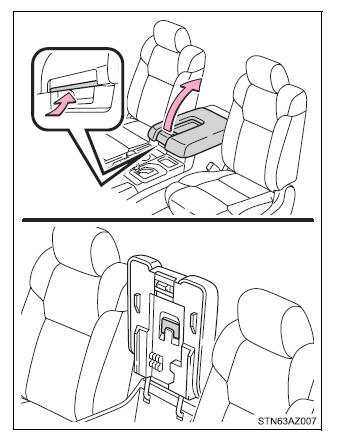
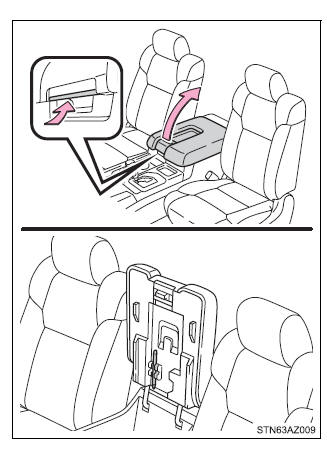
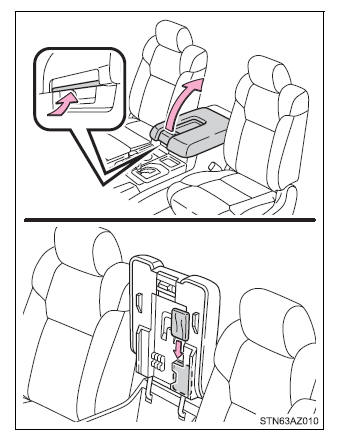
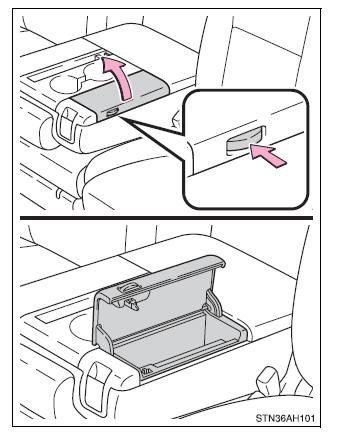
Console box (front separated type seat) Pull the knob up and lift the lid
■Passing a cable from the console box
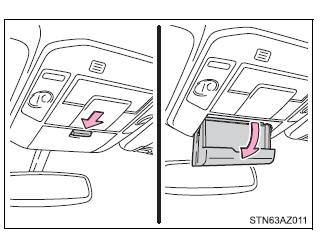
Card holder ■ Overhead console
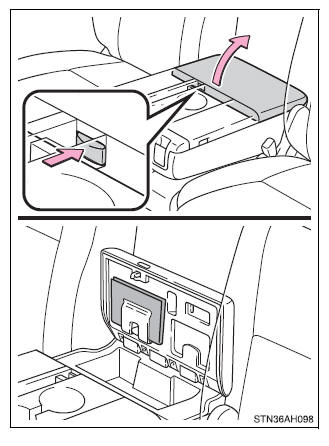
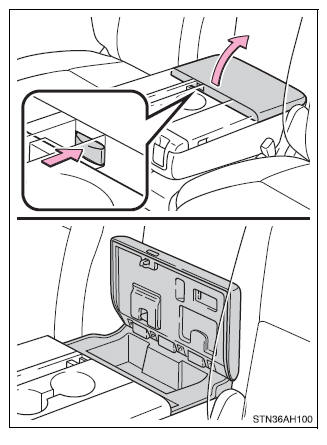
■ Console box (front separated type seats) Pull the knob up and lift the lid
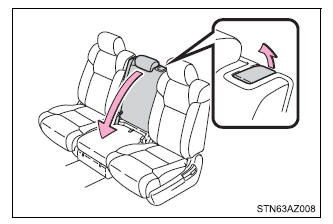
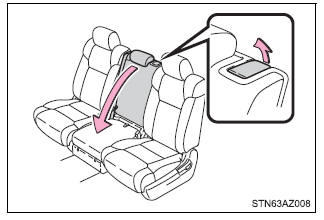
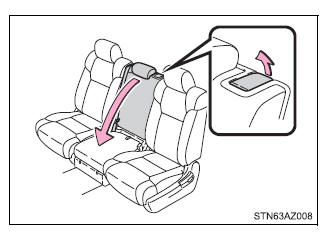
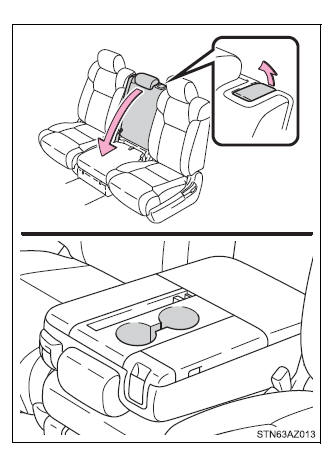
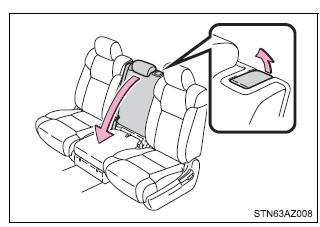
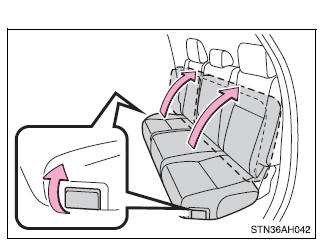
■ Back of the front center seatback (front bench type seat) 1. Pull the lever up and fold down the seatback
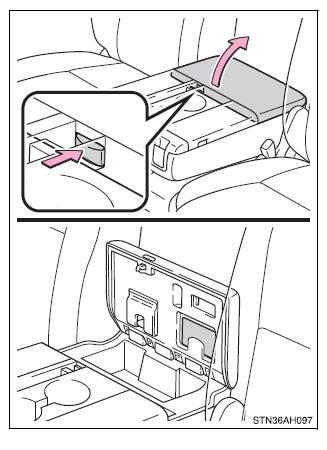
2. Push the knob and lift the lid
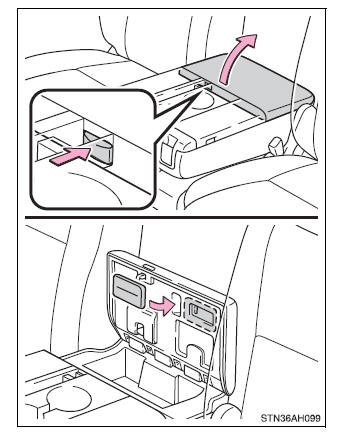
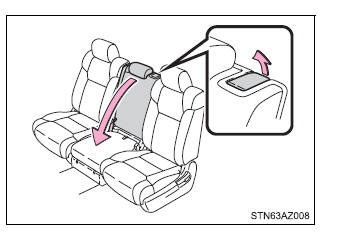
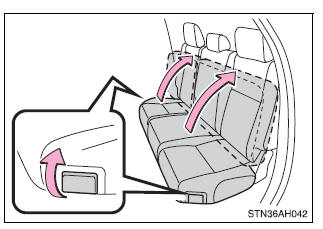
Map holder (front bench type seat) 1. Pull the lever up and fold down the seatback
2. Push the knob and lift the lid
Pen holder Front separated type seats Pull the knob up and lift the lid
Front bench type seat Pull the lever up and fold down the seatback
Tissue pocket Front separated type seats Pull the knob up and lift the lid
Front bench type seat 1. Pull the lever up and fold down the seatback
2. Push the knob and lift the lid
Overhead console The overhead console is useful for temporarily storing sunglasses and similar small items. Push the knob forward to open the console
Cup holders ■ Front Separated type seats
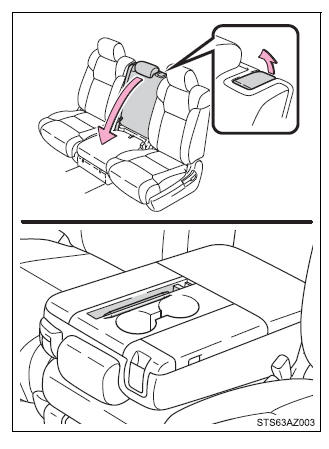
Bench type seat Pull the lever up and fold down the seatback
■ Rear Double Cab models with front separated type seats Pull the lid down
Double Cab models with front bench type seat Pull the lid down
CrewMax models Pull the armrest down
Bottle holders Front door
Rear door (CrewMax models)
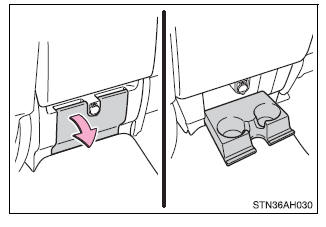
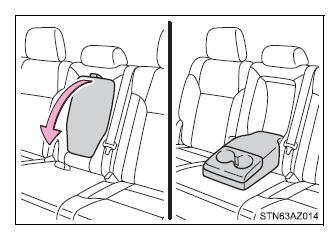
Auxiliary boxes (front bench type seat) Type A Pull the strap
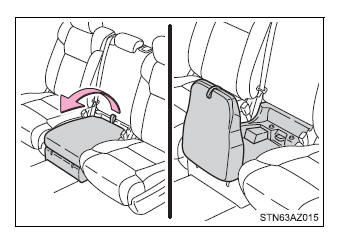
Type B 1. Pull the lever up and fold down the seatbac
2. Push the knob and lift the lid
Type C 1. Pull the lever up and fold down the seatback
2. Push the knob and lift the lid
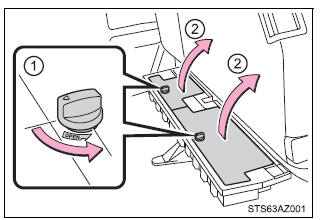
Storage box (if equipped) ■ Using the storage box 1. Pull the lever up and raise the rear seat cushion
2. Open the lid
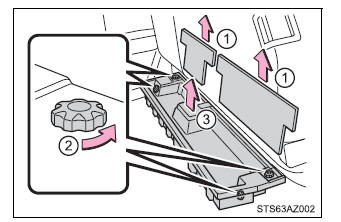
■ Remove the storage box 1. Pull the lever up and raise the rear seat cushion
2. Open the lid
3. Remove the storage box
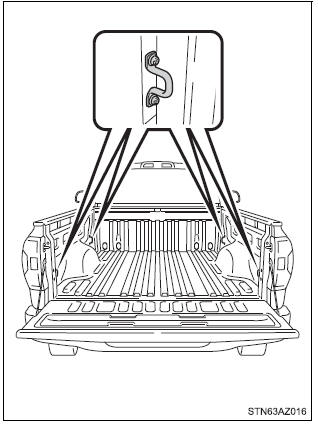
Luggage compartment features Deck hooks Deck hooks are provided for securing loose items.
|
Toyota Tundra Service Manual > Lighting: Stop Light Switch
Components COMPONENTS ILLUSTRATION Inspection INSPECTION PROCEDURE 1. INSPECT STOP LIGHT SWITCH ASSEMBLY (a) Measure the resistance according to the value(s) in the table below. Standard Resistance: Tester Connection Switch Condition Specified Condition 1 - 2 Pushed 10 kΩ or higher Not pushed Below ...