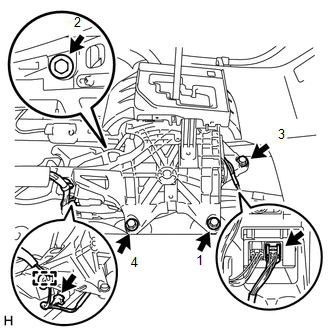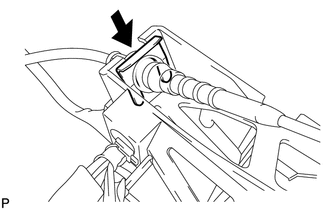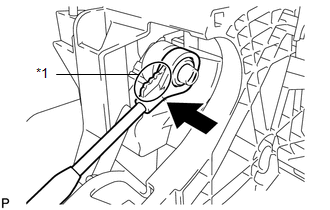
INSTALLATION PROCEDURE 1. INSTALL TRANSMISSION FLOOR SHIFT ASSEMBLY
(b) Fully tighten the 4 bolts in the order shown in the illustration. Torque: 14 N·m {143 kgf·cm, 10 ft·lbf} (c) Connect the clamp and 2 connectors.
2. INSTALL NO. 1 CONSOLE BOX DUCT (w/ Rear Air Duct) (a) Install the No. 1 console box duct with the 2 clips. 3. ADJUST SHIFT LEVER POSITION 4. INSPECT SHIFT LEVER POSITION 5. INSTALL CONSOLE BOX ASSEMBLY (See page
|
Toyota Tundra Service Manual > Automatic Transmission System: Initialization
INITIALIZATION 1. RESET MEMORY NOTICE: Perform Reset Memory (AT initialization) when replacing the automatic transmission assembly, valve body assembly or any of the shift solenoid valves. Reset Memory can be performed only with the Techstream. HINT: The ECM memorizes the control conditions of the a ...