Toyota Tundra Service Manual: Removal

REMOVAL

PROCEDURE

1. REMOVE V-BANK COVER SUB-ASSEMBLY

2. REMOVE AIR CLEANER HOSE ASSEMBLY

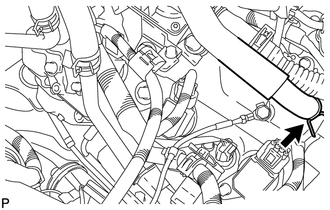
3. DISCONNECT NO. 3 VENTILATION HOSE

(a) Slide the clamp and disconnect the No. 3 ventilation hose.

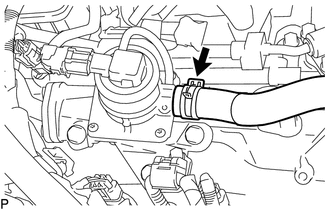
4. DISCONNECT NO. 1 AIR HOSE

(a) Slide the clamp and disconnect the No. 1 air hose.

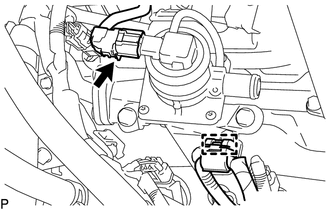
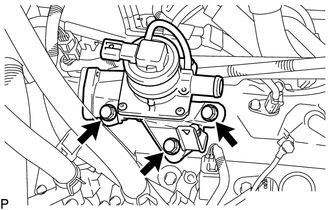
5. REMOVE AIR SWITCHING VALVE ASSEMBLY

(a) Detach the wire harness clamp and disconnect the air switching valve assembly connector from the air switching valve assembly.

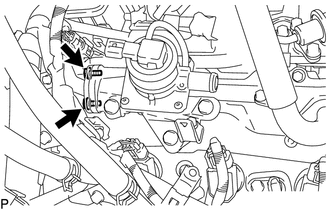
(b) Remove the 2 bolts.

(c) Remove the 3 bolts, air switching valve assembly and gasket.

NOTICE:

Be careful not to damage the installation surface of the gaskets.

    Installation

    Canister

    See More:

    Toyota Tundra Service Manual > Steering Column Assembly(for Manual Tilt): Components
    COMPONENTS ILLUSTRATION *1 COWL SIDE TRIM BOARD LH *2 FRONT DOOR SCUFF PLATE LH *3 INSTRUMENT SIDE PANEL LH *4 LOWER INSTRUMENT PANEL FINISH PANEL SUB-ASSEMBLY LH *5 LOWER NO. 1 INSTRUMENT PANEL AIRBAG ASSEMBLY *6 NO. 3 AIR DUCT SUB-ASSEMBLY *7 HOOD LOCK CONTROL LEVER - - N*m (kgf*cm, ft.*lbf): Spec ...

    Toyota Tundra Owners Manual

    Toyota Tundra Service Manual

    © 2026 Copyright www.ttundra.com
    0.0355