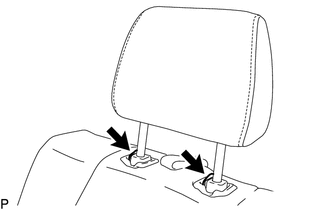
DISASSEMBLY CAUTION / NOTICE / HINT CAUTION: Wear protective gloves. Sharp areas on the parts may injure your hands. PROCEDURE 1. REMOVE REAR SEAT HEADREST ASSEMBLY
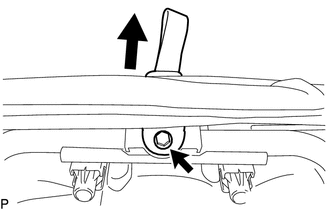
2. REMOVE REAR SEATBACK LOCK CONTROL BEZEL (a) Pull out the 2 fasteners. 
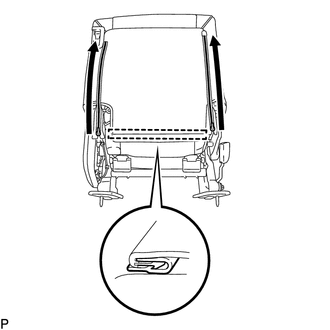
(c) Detach the 4 claws on the backside of the rear seatback lock control bezel and remove the rear seatback lock control bezel. 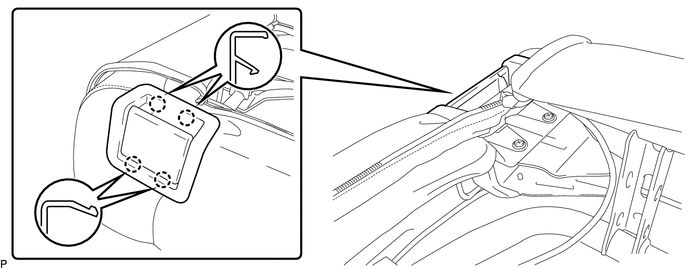
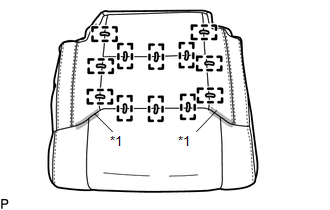
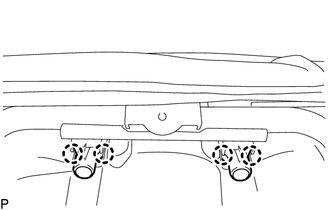
3. REMOVE SEPARATE TYPE REAR SEAT CUSHION COVER WITH PAD (a) Detach the 5 hooks and remove the separate type rear seat cushion cover with pad. 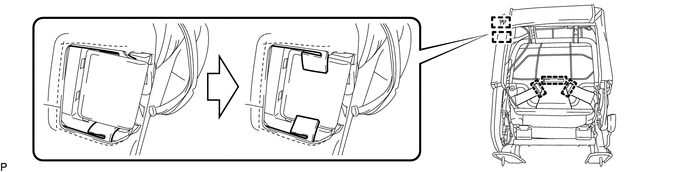
4. REMOVE SEPARATE TYPE REAR SEAT CUSHION COVER
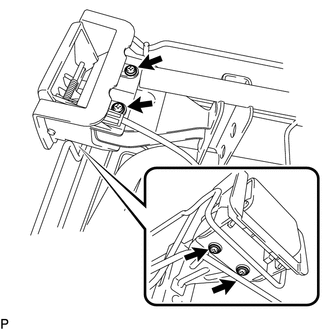
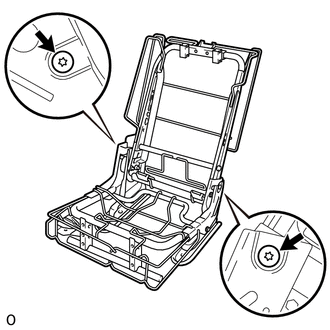
5. REMOVE REAR SEAT RECLINING COVER RH (a) Using a T25 "TORX" socket wrench, remove the 2 screws. 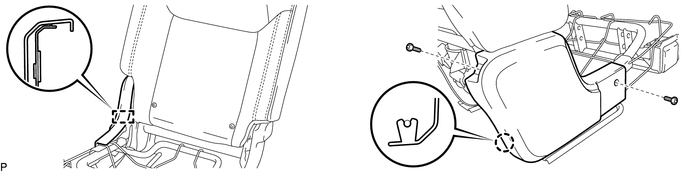
(b) Detach the guide and claw, and then remove the rear seat reclining cover RH. 6. REMOVE REAR SEAT INNER RECLINING COVER RH 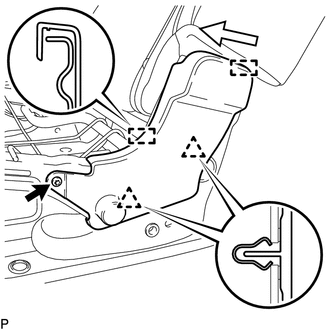
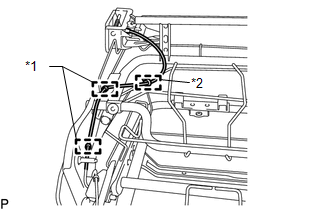
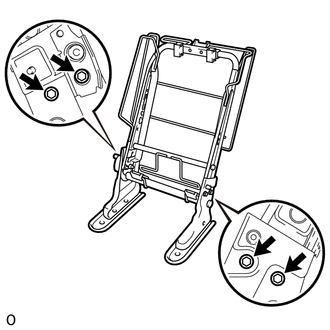
(a) Using a T25 "TORX" socket wrench, remove the screw. (b) Detach the 2 clips. (c) Detach the 2 guides in the direction indicated by the arrow shown in the illustration, and then remove the rear seat inner reclining cover RH. 7. REMOVE REAR NO. 1 SEAT INNER BELT ASSEMBLY RH
(b) Detach the guide and remove the rear No. 1 seat inner belt assembly RH. 8. REMOVE TETHER ANCHOR BRACKET SUB-ASSEMBLY
9. REMOVE REAR SEAT HEADREST SUPPORT
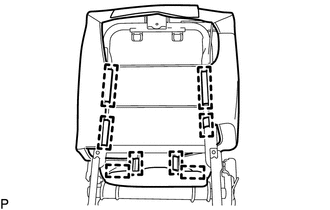
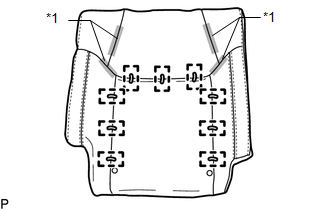
10. REMOVE SEPARATE TYPE REAR SEATBACK COVER WITH PAD
11. REMOVE SEPARATE TYPE REAR SEATBACK COVER
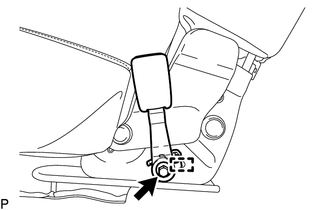
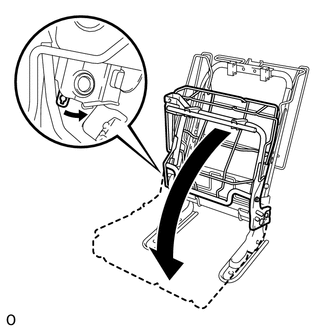
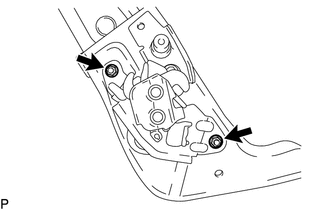
12. REMOVE NO. 1 RECLINING ADJUSTER RELEASE HANDLE RH (a) Pull the No. 1 reclining adjuster release handle RH and fold up the rear seat cushion frame sub-assembly RH. 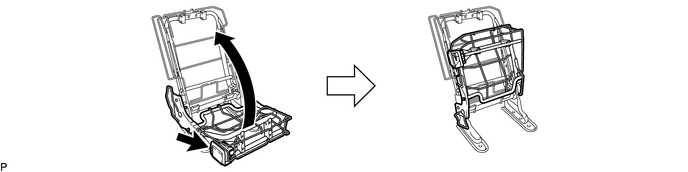
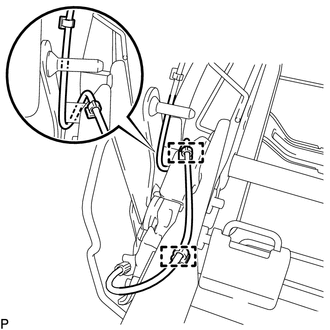
HINT: Make sure that the rear seat cushion frame sub-assembly RH is locked. (b) Detach the clamp and disconnect the cable end of the No. 1 reclining adjuster release handle RH as shown in the illustration. 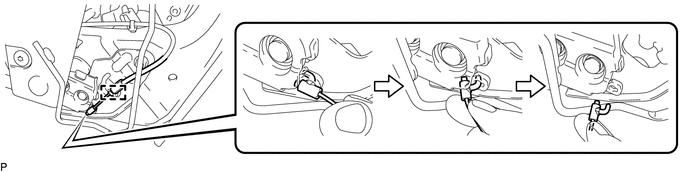
(e) Cut off the cable tie.
13. REMOVE REAR SEAT CUSHION FRAME SUB-ASSEMBLY RH
14. REMOVE REAR SEAT TURN LOCK SUB-ASSEMBLY
15. REMOVE REAR SEATBACK FRAME SUB-ASSEMBLY RH
|
Toyota Tundra Service Manual > Tire Pressure Warning System: Receiver Error (C2176/76)
DESCRIPTION Tire pressure warning valve and transmitter signals are transmitted to the tire pressure warning ECU and receiver in the vehicle as radio waves. DTC No. Detection Item DTC Detection Condition Trouble Area Note C2176/76 Receiver Error Malfunction in the tire pressure warning ECU and recei ...