Components COMPONENTS ILLUSTRATION 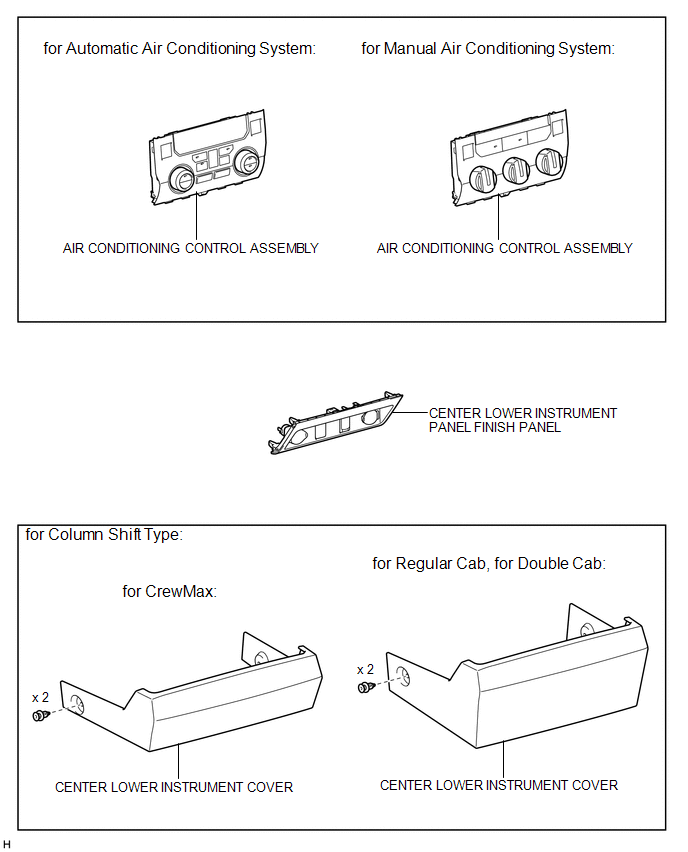
Installation INSTALLATION PROCEDURE 1. INSTALL AIR CONDITIONING CONTROL ASSEMBLY
(b) Put protective tape around the air conditioning control assembly. 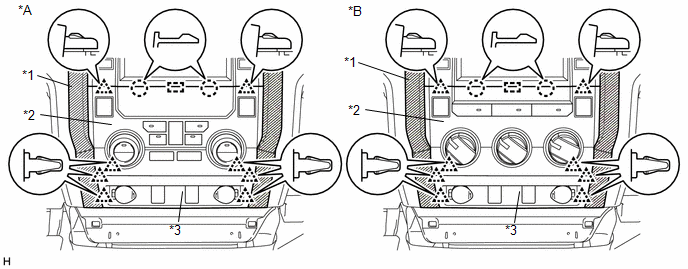 Text in Illustration Text in Illustration
(c) Connect each connector. (d) Attach the 8 clips, 2 claws and guide to install the air conditioning control assembly together with the center lower instrument panel finish panel. 2. INSTALL FRONT CONSOLE BOX (for Floor Shift Type) (See page 3. INSTALL CENTER LOWER INSTRUMENT COVER (for Column Shift Type)
Removal REMOVAL PROCEDURE 1. REMOVE FRONT CONSOLE BOX (for Floor Shift Type) (See page 2. REMOVE CENTER LOWER INSTRUMENT COVER (for Column Shift Type)
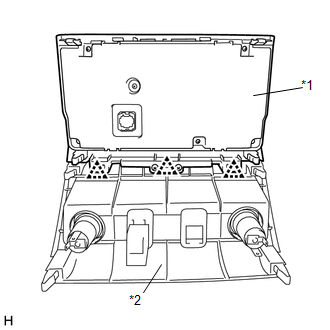
3. REMOVE AIR CONDITIONING CONTROL ASSEMBLY (a) Put protective tape around the air conditioning control assembly. 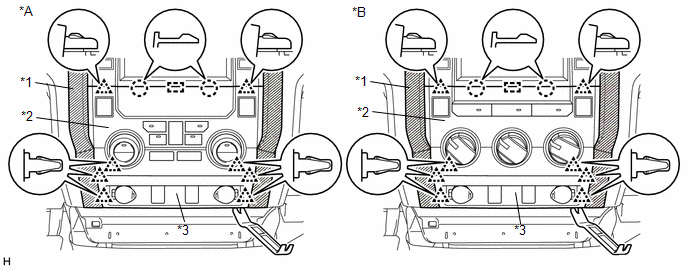 Text in Illustration Text in Illustration
(b) Using moulding remover B, detach the 8 clips, 2 claws and guide. (c) Disconnect each connector and remove the air conditioning control assembly together with the center lower instrument panel finish panel.
|
Toyota Tundra Owners Manual > Do-it-yourself maintenance: Wheels
If a wheel is bent, cracked or heavily corroded, it should be replaced. Otherwise, the tire may separate from the wheel or cause a loss of handling control. Wheel selection When replacing wheels, care should be taken to ensure that they are equivalent to those removed in load capacity, diameter, ri ...

 )
) )
)

