DISASSEMBLY PROCEDURE 1. REMOVE SLIDING ROOF DRIVE GEAR SUB-ASSEMBLY 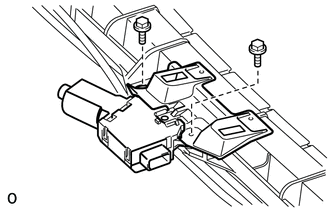
(a) Remove the 2 bolts, room light bracket and drive gear. 2. REMOVE SUNSHADE TRIM SUB-ASSEMBLY 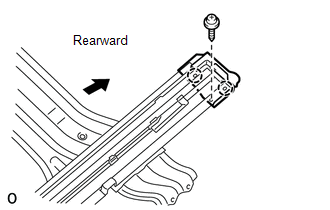
(a) Remove the 2 screws. (b) Detach the 4 claws and remove the sliding roof piece LH and RH. (c) Slide and remove the trim. 3. REMOVE SLIDING ROOF DRIVE CABLE SUB-ASSEMBLY NOTICE: Do not disassemble the sliding roof drive cable sub-assembly except when replacing it.
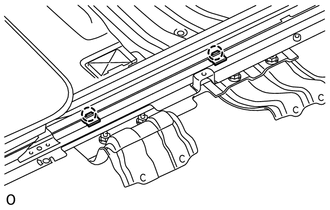
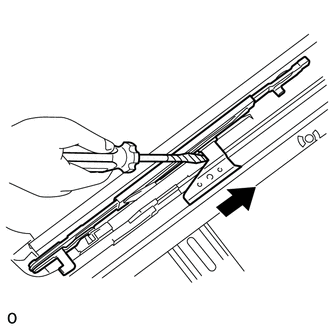
(c) Slide each roof wind deflector lifter link in the direction indicated by the arrow in the illustration to remove it.
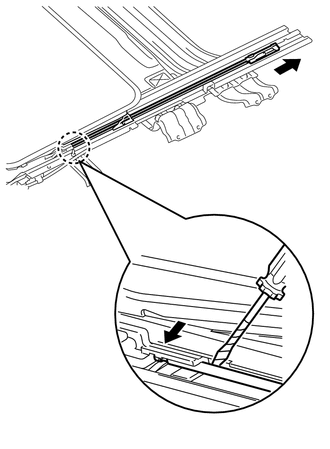
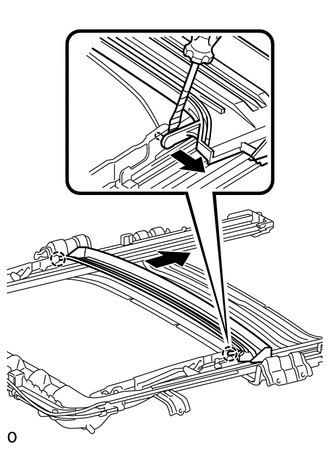
(e) Place matchmarks on the sliding roof drive cable sub-assembly and sliding roof housing sub-assembly.
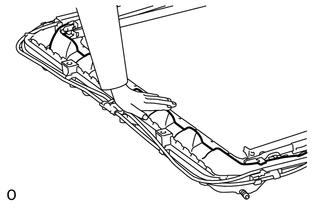
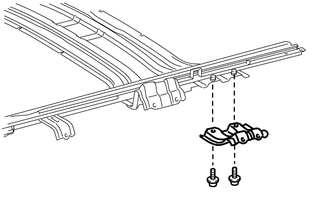
4. REMOVE REAR SLIDING ROOF HOUSING MOUNTING BRACKET LH
5. REMOVE REAR SLIDING ROOF HOUSING MOUNTING BRACKET RH HINT: Use the same procedures described for the LH side. |
Toyota Tundra Service Manual > Lumbar Support Adjuster Assembly: Installation
INSTALLATION CAUTION / NOTICE / HINT CAUTION: Wear protective gloves. Sharp areas on the parts may injure your hands. HINT: Use the same procedure for the RH and LH sides. The procedure listed below is for the LH side. PROCEDURE 1. INSTALL SEATBACK CLIMATE CONTROL BLOWER LH (w/ Climate Control Seat ...