Toyota Tundra Service Manual: Installation

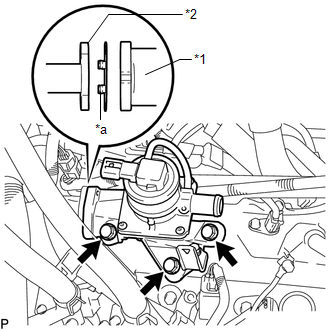
INSTALLATION

PROCEDURE

1. INSTALL AIR SWITCHING VALVE ASSEMBLY

(a) Install a new gasket and the air switching valve assembly with the 3 bolts.

Torque:

24 N·m {245 kgf·cm, 18 ft·lbf}

Text in Illustration

*1

Air Switching Valve Assembly

*2

No. 3 Air Tube

*a

Claw

NOTICE:

Make sure the gasket's claws are not caught between the air switching valve assembly and No. 3 air tube.

(b) Install the 2 bolts.

Torque:

10 N·m {102 kgf·cm, 7 ft·lbf}

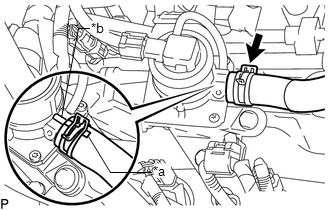
(c) Attach the wire harness clamp to the air switching valve assembly and connect the air switching valve assembly connector.

2. CONNECT NO. 1 AIR HOSE

(a) Align the paint mark with the projection and connect the No. 1 air hose, and slide the clamp to secure the hose.

Text in Illustration

*a

Paint Mark

*b

Projection

HINT:

Make sure the direction of the hose clamp is as shown in the illustration.

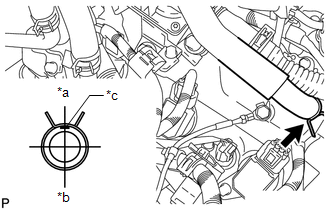
3. CONNECT NO. 3 VENTILATION HOSE

(a) Connect the No. 3 ventilation hose, and slide the clamp to secure the hose.

Text in Illustration

*a

Front

*b

Rear

*c

Paint Mark

HINT:

The direction of the hose clamp is indicated in the illustration.

4. INSTALL AIR CLEANER HOSE ASSEMBLY

5. INSTALL V-BANK COVER SUB-ASSEMBLY

    Inspection

    Removal

    See More:

    Toyota Tundra Service Manual > Automatic Transmission System: Shift Solenoid "A" Control Circuit Low (Shift Solenoid Valve S1) (P0973,P0974)
    DESCRIPTION Shifting from 1st to 6th is performed in combination with ON and OFF operation of the shift solenoid valves SL1, SL2, S1, S2, S3, S4 and SR, which are controlled by the ECM. If an open or short circuit occurs in any of the shift solenoid valves, the ECM controls the remaining normal shif ...

    Toyota Tundra Owners Manual

    Toyota Tundra Service Manual

    © 2023 Copyright www.ttundra.com
    0.0093