INSTALLATION CAUTION / NOTICE / HINT HINT: Perform "Inspection After Repairs" after replacing the air fuel ratio sensor (See page
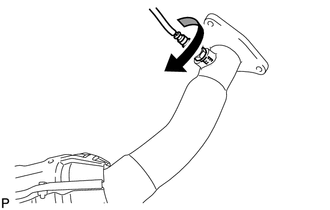
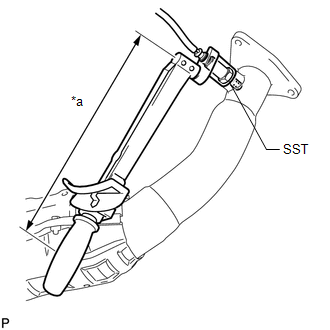
PROCEDURE 1. INSTALL AIR FUEL RATIO SENSOR (for Bank 1 Sensor 1) HINT: Perform "Inspection After Repairs" after replacing the air fuel ratio sensor (See page
2. INSTALL FRONT NO. 2 EXHAUST PIPE ASSEMBLY
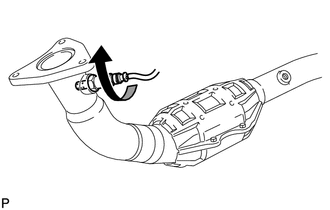
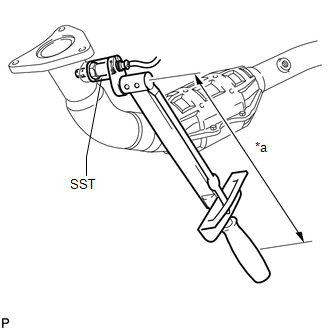
3. INSTALL AIR FUEL RATIO SENSOR (for Bank 2 Sensor 1) HINT: Perform "Inspection After Repairs" after replacing the air fuel ratio sensor (See page
4. INSTALL FRONT EXHAUST PIPE ASSEMBLY (See page
5. INSPECT FOR EXHAUST GAS LEAK
|
Toyota Tundra Service Manual > Audio And Visual System: Illumination Circuit
DESCRIPTION Power is supplied to the radio and display receiver assembly and steering pad switch assembly illumination when the light control switch is in the tail or head position. WIRING DIAGRAM CAUTION / NOTICE / HINT NOTICE: The vehicle is equipped with a Supplemental Restraint System (SRS) whic ...

 ).
).