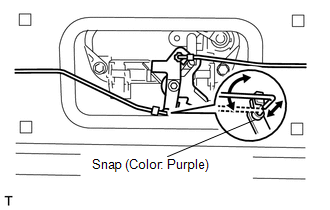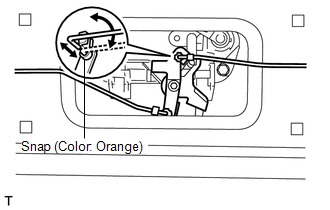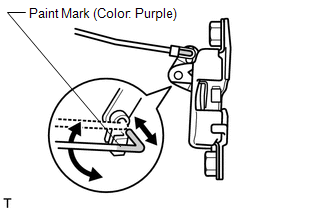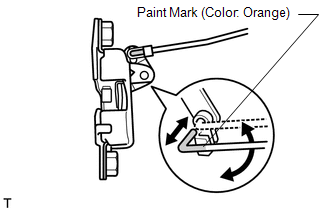
REMOVAL CAUTION / NOTICE / HINT HINT: A bolt without a torque specification is shown in the standard bolt chart (See
page PROCEDURE 1. REMOVE TAIL GATE PROTECTOR
2. REMOVE TAIL GATE SERVICE HOLE COVER (a) Using a T30 "TORX" socket, remove the 8 screws and service hole cover. 3. REMOVE TAIL GATE LOCK ASSEMBLY LH
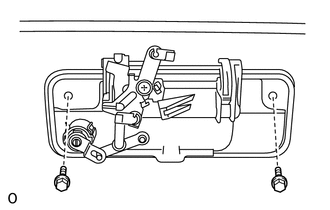
(b) Using a T40 "TORX" socket, remove the 2 screws and tail gate lock. 4. REMOVE TAIL GATE LOCK ASSEMBLY RH
(b) Using a T40 "TORX" socket, remove the 2 screws and tail gate lock. 5. REMOVE TAIL GATE LOCK CONTROL LINK LH
6. REMOVE TAIL GATE LOCK CONTROL LINK RH
7. REMOVE TELEVISION CAMERA ASSEMBLY (w/ Rear View Monitor System)
8. REMOVE TAIL GATE HANDLE
9. REMOVE TAIL GATE LOCK KEY CYLINDER (a) Pull off the snap ring and remove the tail gate lock key cylinder. 10. REMOVE TAIL GATE LOCK STRIKER (a) Using a T40 "TORX" socket, remove the 4 screws and 2 tail gate lock strikers. 11. REMOVE REAR COMBINATION LIGHT ASSEMBLY LH
12. REMOVE SIDE GATE SUPPORT SUB-ASSEMBLY LH
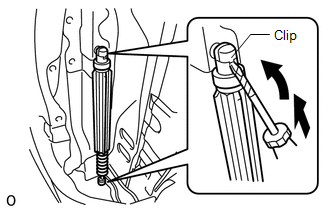
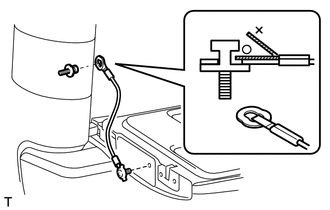
13. REMOVE TAIL GATE STAY ASSEMBLY
(b) Remove the gate side shaft and tail gate stay. HINT: Use the same procedures described above for the other side. 14. REMOVE REAR BODY TAIL GATE ASSEMBLY
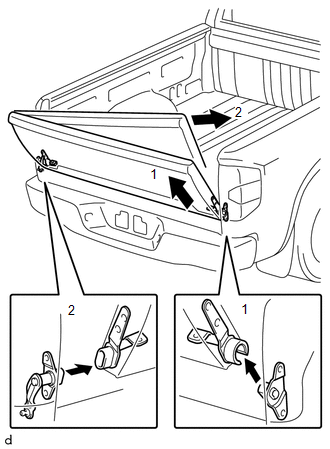
(b) Move the tail gate rearwards and then pull in the direction of arrow 2 as shown in the illustration to remove the tail gate. 15. REMOVE TAIL GATE HINGE ASSEMBLY LH
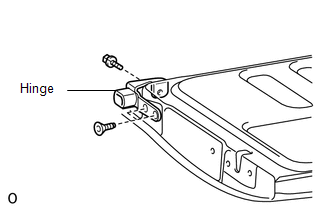
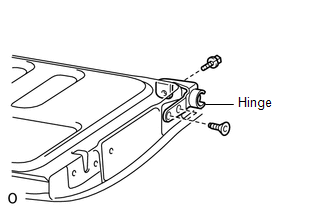
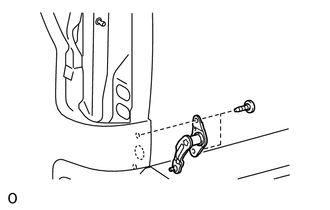
(b) Using a T40 "TORX" socket, remove the 2 screws and tail gate hinge from the tail gate. 16. REMOVE TAIL GATE HINGE ASSEMBLY RH (a) Remove the bolt. NOTICE: Be careful not to drop the tail gate.
17. REMOVE TAIL GATE MALE HINGE SUB-ASSEMBLY LH
18. REMOVE TAIL GATE MALE HINGE SUB-ASSEMBLY RH (a) Using a T40 "TORX" socket, remove the 2 screws and tail gate male hinge from the tail gate. |
Toyota Tundra Service Manual > Power Tilt And Power Telescopic Steering Column System: Customize Parameters
CUSTOMIZE PARAMETERS 1. CUSTOMIZE POWER TILT AND POWER TELESCOPIC STEERING COLUMN SYSTEM HINT: The following items can be customized. NOTICE: When the customer requests a change in a function, first make sure that the function can be customized. Record the current settings before customizing. (a) Cu ...

 ).
).