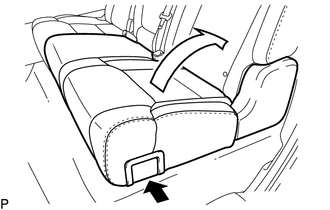
REMOVAL PROCEDURE 1. REMOVE REAR SEAT ASSEMBLY RH
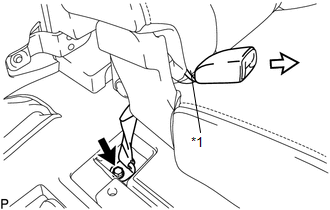
2. REMOVE REAR SEAT INNER BELT ASSEMBLY HINT: Perform the following procedure when removing and installing the rear inner seat leg bracket sub-assembly or rear outer seat leg bracket sub-assembly.
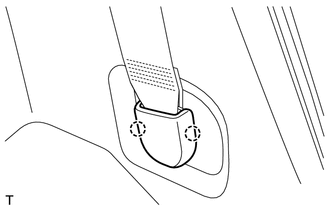
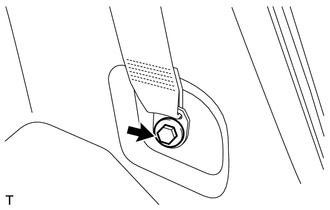
(b) Pass the rear seat inner belt assembly through the rubber band of the separate type rear seatback cover in the direction indicated by the arrow shown in the illustration, and then remove the rear seat inner belt assembly. Text in Illustration
3. REMOVE REAR SEAT ASSEMBLY LH
4. REMOVE REAR NO. 1 SEAT OUTER LAP BELT ANCHOR COVER
5. DISCONNECT REAR SEAT OUTER BELT ASSEMBLY LH
6. DISCONNECT REAR SEAT OUTER BELT ASSEMBLY RH HINT: Use the same procedure described for the LH side. 7. REMOVE NO. 1 BOX SPEAKER ASSEMBLY (w/ Woofer)
8. REMOVE REAR DOOR SCUFF PLATE LH
9. REMOVE REAR DOOR SCUFF PLATE RH
10. REMOVE REAR DOOR WEATHERSTRIP LH (a) Partially remove the rear door weatherstrip LH so that the lower quarter
trim panel assembly LH can be removed (See page 11. REMOVE REAR DOOR WEATHERSTRIP RH (a) Partially remove the rear door weatherstrip RH so that the lower quarter
trim panel assembly RH can be removed (See page 12. REMOVE LOWER QUARTER TRIM PANEL ASSEMBLY LH
13. REMOVE LOWER QUARTER TRIM PANEL ASSEMBLY RH
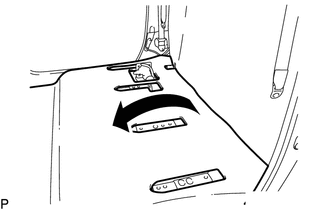
14. REMOVE FRONT FLOOR CARPET ASSEMBLY (a) Remove the tool bag. (b) Detach the 6 clamps. 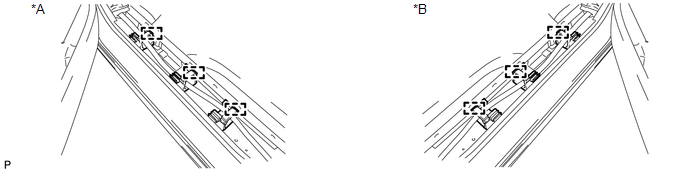 Text in Illustration Text in Illustration
15. REMOVE REAR FLOOR BOARD SPACER
16. REMOVE NO. 2 REAR FLOOR BOARD SPACER
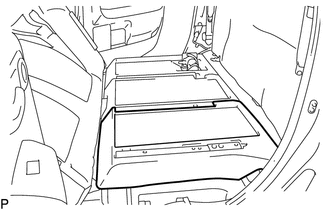
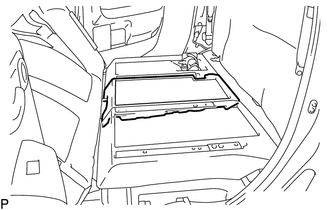
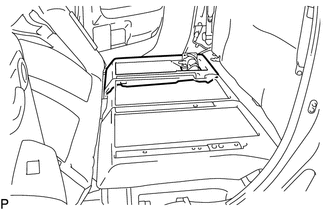
17. REMOVE REAR FLOOR BOARD RH
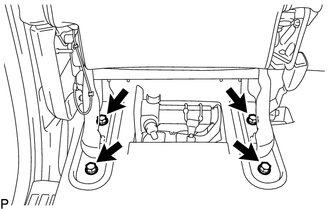
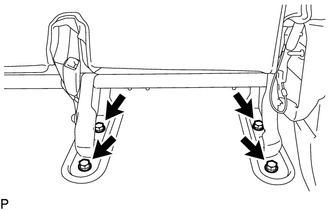
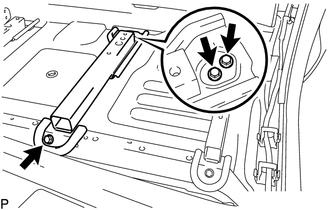
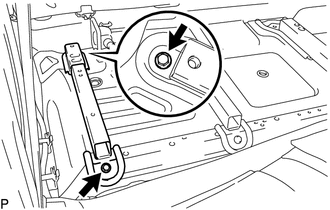
18. REMOVE REAR INNER SEAT LEG BRACKET SUB-ASSEMBLY LH
19. REMOVE REAR OUTER SEAT LEG BRACKET SUB-ASSEMBLY LH
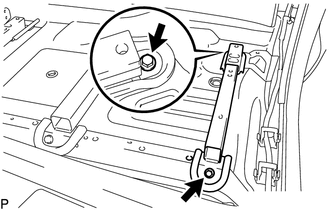
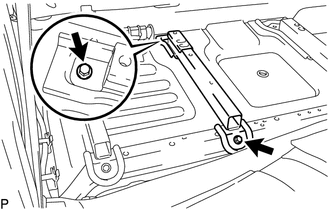
20. REMOVE REAR OUTER SEAT LEG BRACKET SUB-ASSEMBLY RH
21. REMOVE REAR INNER SEAT LEG BRACKET SUB-ASSEMBLY RH
|
Toyota Tundra Service Manual > Transfer Assembly: Installation
INSTALLATION CAUTION / NOTICE / HINT CAUTION: Be sure to perform this procedure with several people as the transfer assembly is very heavy. PROCEDURE 1. INSTALL TRANSFER ASSEMBLY (a) Support the transfer assembly with a transmission jack. NOTICE: Secure the transfer assembly to the transmission jack ...