Toyota Tundra Service Manual: Installation

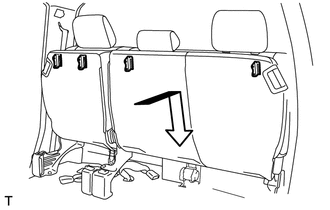
INSTALLATION

PROCEDURE

1. INSTALL REAR SEAT ASSEMBLY

(a) Attach the 4 hooks on the back side of the rear seat assembly and install it.

NOTICE:

Be careful not to damage the vehicle body.

(b) Install the 6 bolts in the order indicated in the illustration.

Torque:

42 N·m {428 kgf·cm, 31 ft·lbf}

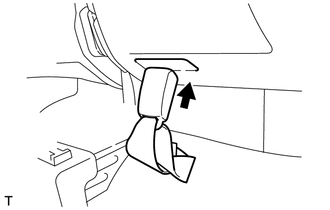
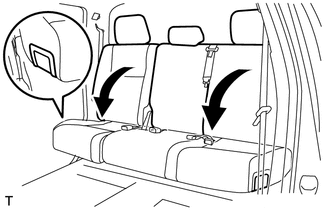
2. INSTALL REAR SEAT INNER BELT ASSEMBLY

(a) Insert the rear seat inner belt assemblies.

3. CONNECT REAR CENTER SEAT OUTER BELT ASSEMBLY

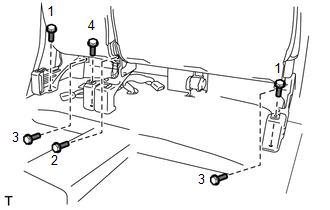
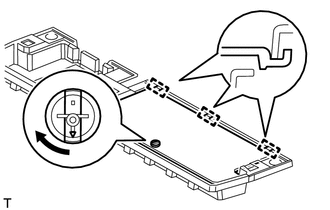
4. INSTALL SEAT FLOOR BOX (w/ Seat Under Tray)

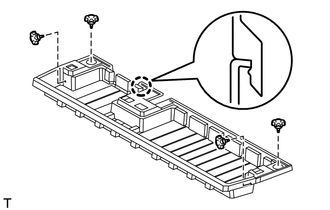
(a) Attach the claw to install the seat floor box.

(b) Install the 4 knobs.

5. INSTALL LUGGAGE COMPARTMENT SIDE COVER SUB-ASSEMBLY RH (w/ Seat Under Tray)

(a) Attach the 2 hooks to install the luggage compartment side cover sub-assembly RH.

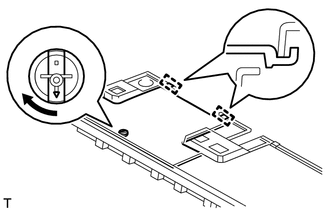
(b) Close the luggage compartment side cover sub-assembly RH and turn the knob.

6. INSTALL LUGGAGE COMPARTMENT SIDE COVER SUB-ASSEMBLY LH (w/ Seat Under Tray)

(a) Attach the 3 hooks to install the luggage compartment side cover sub-assembly LH.

(b) Close the luggage compartment side cover sub-assembly LH and turn the knob.

(c) Pull the 2 seat adjusting handles and fold down the seat cushion.

    Disassembly

    Reassembly

    See More:

    Toyota Tundra Service Manual > Clearance Sonar Main Switch: Removal
    REMOVAL PROCEDURE 1. REMOVE INSTRUMENT SIDE PANEL LH 2. REMOVE FRONT DOOR SCUFF PLATE LH 3. REMOVE COWL SIDE TRIM BOARD LH 4. REMOVE LOWER INSTRUMENT PANEL FINISH PANEL SUB-ASSEMBLY LH 5. REMOVE NO. 2 SWITCH HOLE BASE 6. REMOVE BACK SONAR OR CLEARANCE SONAR SWITCH ASSEMBLY (a) Detach the 2 claws and ...

    Toyota Tundra Owners Manual

    Toyota Tundra Service Manual

    © 2023 Copyright www.ttundra.com
    0.0188