Components COMPONENTS ILLUSTRATION 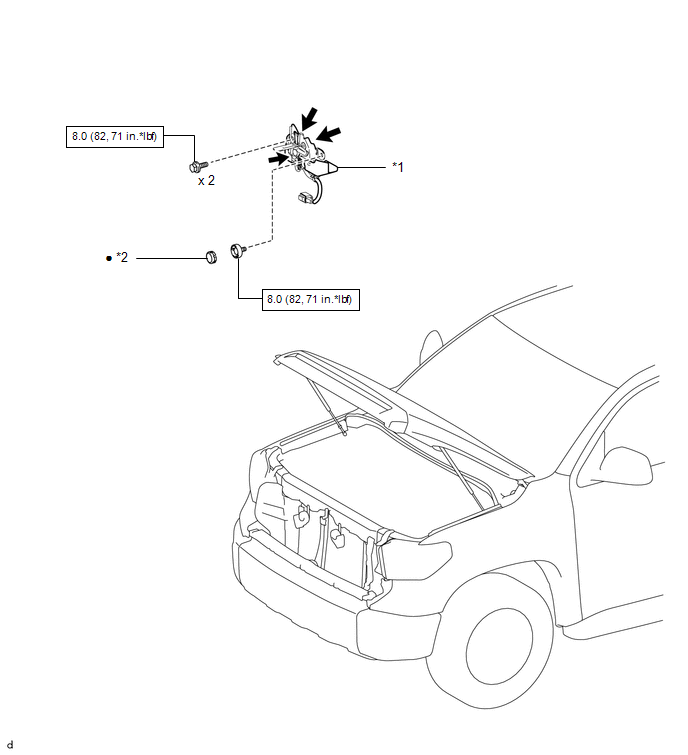
Inspection INSPECTION PROCEDURE 1. INSPECT HOOD LOCK ASSEMBLY (HOOD COURTESY SWITCH) 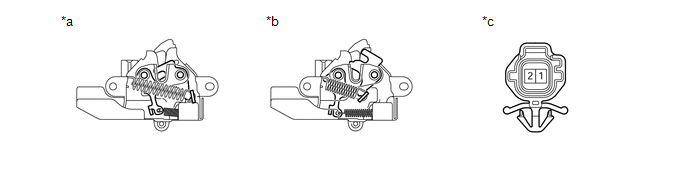 Text in Illustration Text in Illustration
(a) Measure the resistance according to the value(s) in the table below. Standard Resistance:
If the results are not as specified, replace the hood lock assembly (hood courtesy switch). Installation INSTALLATION PROCEDURE 1. INSTALL HOOD LOCK ASSEMBLY (a) Apply MP grease to the sliding areas of the hood lock assembly. 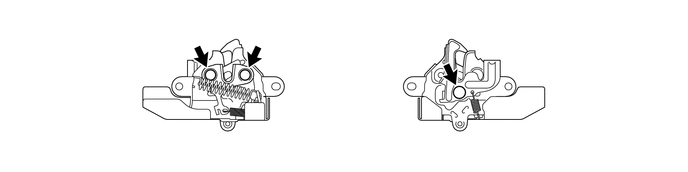
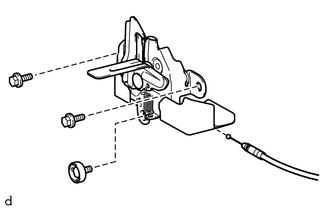
(b) Connect the hood lock control cable assembly. (c) Install the hood lock assembly. (d) Install the 3 bolts. Torque: 8.0 N·m {82 kgf·cm, 71 in·lbf} (e) Install a new hood lock nut cap. (f) Connect the connector. (g) Attach the clamp. 2. INSTALL RADIATOR GRILLE SUB-ASSEMBLY
Removal REMOVAL PROCEDURE 1. REMOVE RADIATOR GRILLE SUB-ASSEMBLY
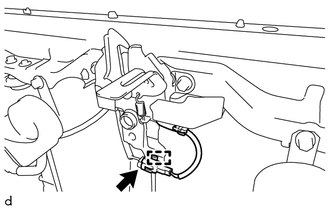
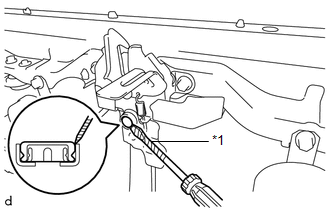
2. REMOVE HOOD LOCK ASSEMBLY
(b) Detach the clamp.
(e) Remove the hood lock assembly. (f) Disconnect the hood lock control cable assembly. |
Toyota Tundra Service Manual > Vehicle Stability Control System: VSC does not Operate or VSC does not Operate Correctly
DESCRIPTION When TRAC or VSC is operating, the skid control ECU (brake actuator assembly) blinks the slip indicator light to inform the driver that slippage occurred. When a communication malfunction with the ECM is detected, TRAC and VSC are disabled. Also, TRAC and VSC are disabled when a DTC is s ...