REMOVAL CAUTION / NOTICE / HINT HINT:
PROCEDURE 1. REMOVE FRONT LOWER DOOR FRAME BRACKET GARNISH LH 2. REMOVE FRONT DOOR INSIDE HANDLE BEZEL PLUG LH 3. REMOVE FRONT UPPER ARMREST BASE PANEL LH 4. REMOVE FRONT DOOR ARMREST COVER LH 5. REMOVE FRONT DOOR TRIM BOARD SUB-ASSEMBLY LH
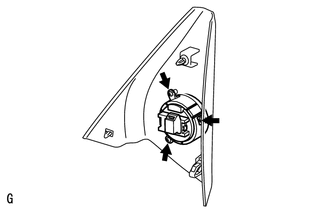
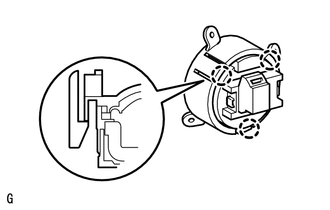
6. REMOVE FRONT NO. 1 SPEAKER ASSEMBLY (a) Remove the 4 screws. 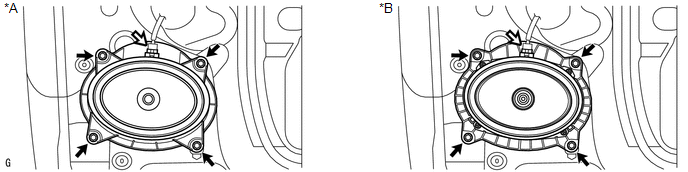 Text in Illustration Text in Illustration
NOTICE: Do not touch the cone part of the speaker. (b) Disconnect the connector and remove the front No. 1 speaker assembly. 7. REMOVE FRONT NO. 3 SPEAKER ASSEMBLY (for 12 Speakers)
|
Toyota Tundra Service Manual > Front Seat Cushion Heater(for Power Seat): Installation
INSTALLATION CAUTION / NOTICE / HINT CAUTION: Wear protective gloves. Sharp areas on the parts may injure your hands. HINT: Use the same procedure for the RH and LH sides. The procedure listed below is for the LH side. PROCEDURE 1. INSTALL FRONT SEAT CUSHION HEATER ASSEMBLY LH (a) Set the front seat ...