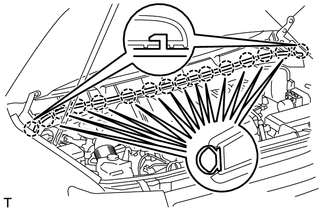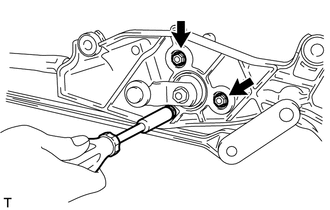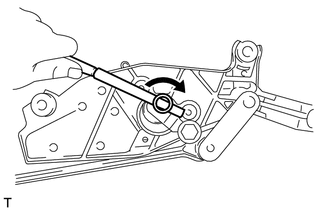
REMOVAL PROCEDURE 1. REMOVE FRONT WIPER ARM AND BLADE ASSEMBLY LH (a) Remove the nut, wiper arm and blade. 2. REMOVE FRONT WIPER ARM AND BLADE ASSEMBLY RH (a) Remove the nut, wiper arm and blade. 3. REMOVE HOOD TO COWL TOP SEAL
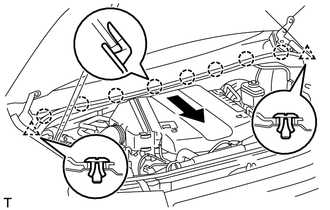
4. REMOVE FRONT FENDER TO COWL SIDE SEAL LH (a) Using a clip remover, detach the claw and remove the cowl side seal. 5. REMOVE FRONT FENDER TO COWL SIDE SEAL RH HINT: Use the same procedures described for the LH side. 6. REMOVE COWL TOP VENTILATOR LOUVER SUB-ASSEMBLY
(b) Detach the 8 claws and remove the ventilator louver. 7. REMOVE FRONT WIPER MOTOR AND LINK ASSEMBLY
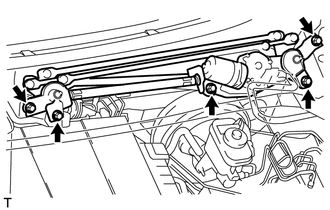
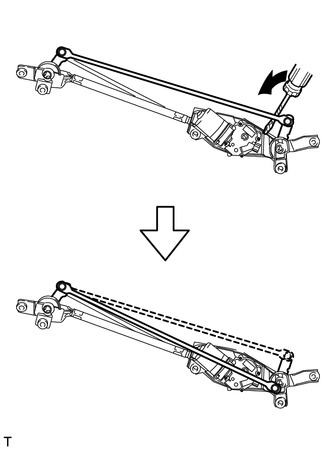
(b) Remove the nut. (c) Remove the 4 bolts and wiper motor and link assembly. 8. REMOVE WINDSHIELD WIPER MOTOR ASSEMBLY
|
Toyota Tundra Service Manual > Vehicle Stability Control System: Zero Point Calibration of Acceleration Sensor Undone (C1336)
DESCRIPTION The skid control ECU (brake actuator assembly) receives signals from the yaw rate and acceleration sensor (airbag sensor assembly) via CAN communication. The airbag sensor assembly has a built-in yaw rate and acceleration sensor and detects the vehicle's condition using 2 circuits (GL1, ...